The short version
- Your wrists need their own warm-up, because a general warm-up doesn't move them through the gripping and weight-bearing positions pole uses.
- Ten minutes is enough: two minutes to get warm, two of circles and stretches, two of gentle floor loading and four of grip work with your feet on the floor.
- A warm-up should leave your forearms warm and slightly pumped, never with sharp, pinching pain or tingling.
- Do it right before the hard work and keep a layer on between turns so you don't cool down again.
- A warm-up prepares you for one session, while conditioning two or three times a week is what builds stronger wrists.
A good wrist warm-up for pole or aerial takes about ten minutes: two minutes to get warm, four minutes of circles and gentle loading on the floor, and four minutes of easy grip work on the pole or apparatus before you start the real thing. It should leave your wrists and forearms feeling warm, loose and a little bit worked, never sore. Do it after your general warm-up and before your first spin, hang or handstand.
Most class warm-ups do a lot for the hips and shoulders and very little for the joint that holds you on the pole. I teach a version of this routine and I do it myself, and it's short enough to fit in before class even when you arrive late.
Why do your wrists need their own warm-up?
When you grip the pole, the muscles that close your hand are working in your forearm and pulling on tendons that run across the wrist. When you push into the floor or the pole, the wrist bends back under your weight. A general warm-up gets your heart rate up, but it doesn't move the wrist through those positions or wake up the grip muscles, so the first spin of the night ends up doing that job instead.
Warmer muscles contract and relax faster and feel less stiff, which is a big part of why warming up helps performance (Bishop, 2003). Cold hands also grip less strongly (Ramadan, 2017), which matters a lot when your grip is all that's holding you in a spin.
The 10-minute wrist warm-up for pole and aerial
You need a bit of floor space, a pole or your apparatus, and a water bottle. Keep every movement smooth and inside a comfortable range, and stop any exercise that causes sharp or pinching pain.
Part 1: Get warm (2 minutes)
- Arm swings and shake-outs, 1 minute. Swing your arms in big circles forwards and backwards, then shake out your hands loosely at your sides. You should feel your shoulders loosen and your hands start to warm.
- Fist to star, 1 minute. Squeeze both hands into a firm fist, then open them wide with the fingers spread like a star. Go quickly for 30 seconds, then slowly for 30 seconds. Your forearms should feel warm and a little pumped by the end.
Part 2: Circles and stretches (2 minutes)
- Wrist circles, 45 seconds. With your fingers interlaced or your hands loose, draw slow, big circles with your wrists, about ten in each direction. Make the circles as big as feels easy, and expect a bit of stiffness at first that fades as you go.
- Forearm rotations, 30 seconds. Elbows bent at your sides, turn your palms up to the ceiling and down to the floor, slowly and fully. Holding a water bottle by one end makes this a little harder and wakes up the muscles that twist your forearm in handsprings.
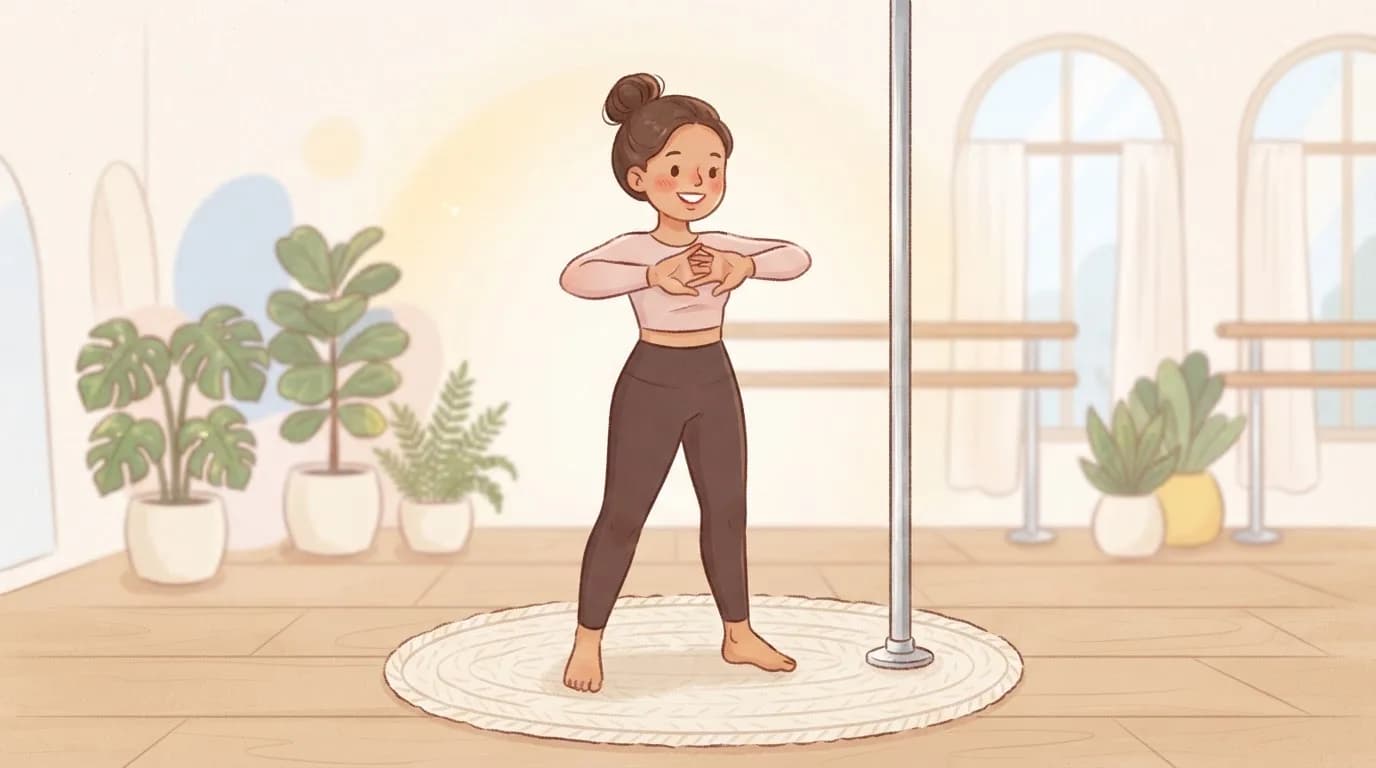
- Prayer and reverse prayer, 45 seconds. Press your palms together in front of your chest and slowly lower them until you feel a gentle stretch on the inside of your forearms, then hold 15 seconds. Turn the backs of your hands together, fingers pointing down, and lift gently for another 15 seconds. These should feel like stretches, not pinches.
Part 3: Gentle floor loading (2 minutes)
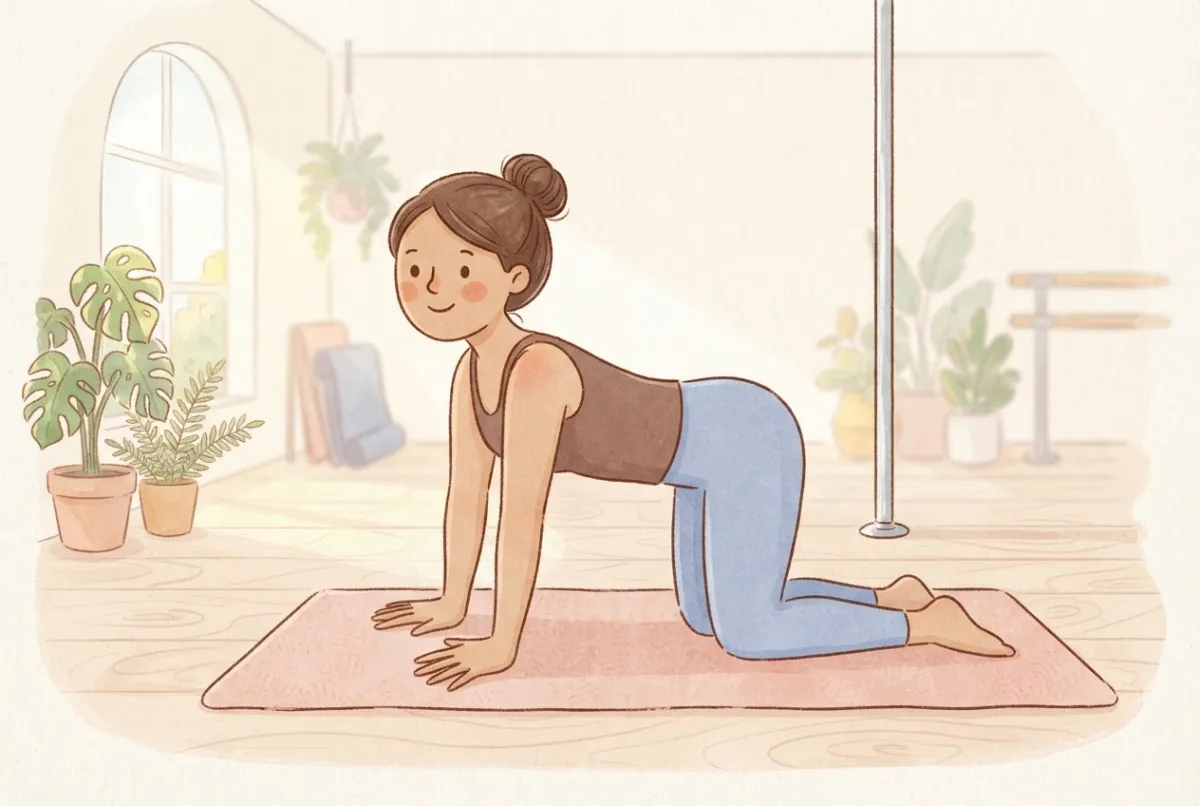
- Tabletop rocks, fingers forward, 45 seconds. On hands and knees with your hands under your shoulders and fingers spread, rock your shoulders slowly forward past your hands and back again. Only go as far forward as feels comfortable on the top of your wrist.
- Tabletop rocks, fingers sideways and back, 45 seconds. Turn your fingers out to the sides and rock side to side for 20 seconds, then turn them to point back towards your knees and gently sit your hips back for 20 seconds. This one stretches the inside of the forearm, so keep it light.
- Palm lifts, 30 seconds. Still in tabletop, lift the heels of your hands off the floor so you're balanced on your fingers and knuckles, then lower slowly. Do eight to ten. Your fingers and forearms should feel switched on.
Part 4: Grip activation on the pole (4 minutes)
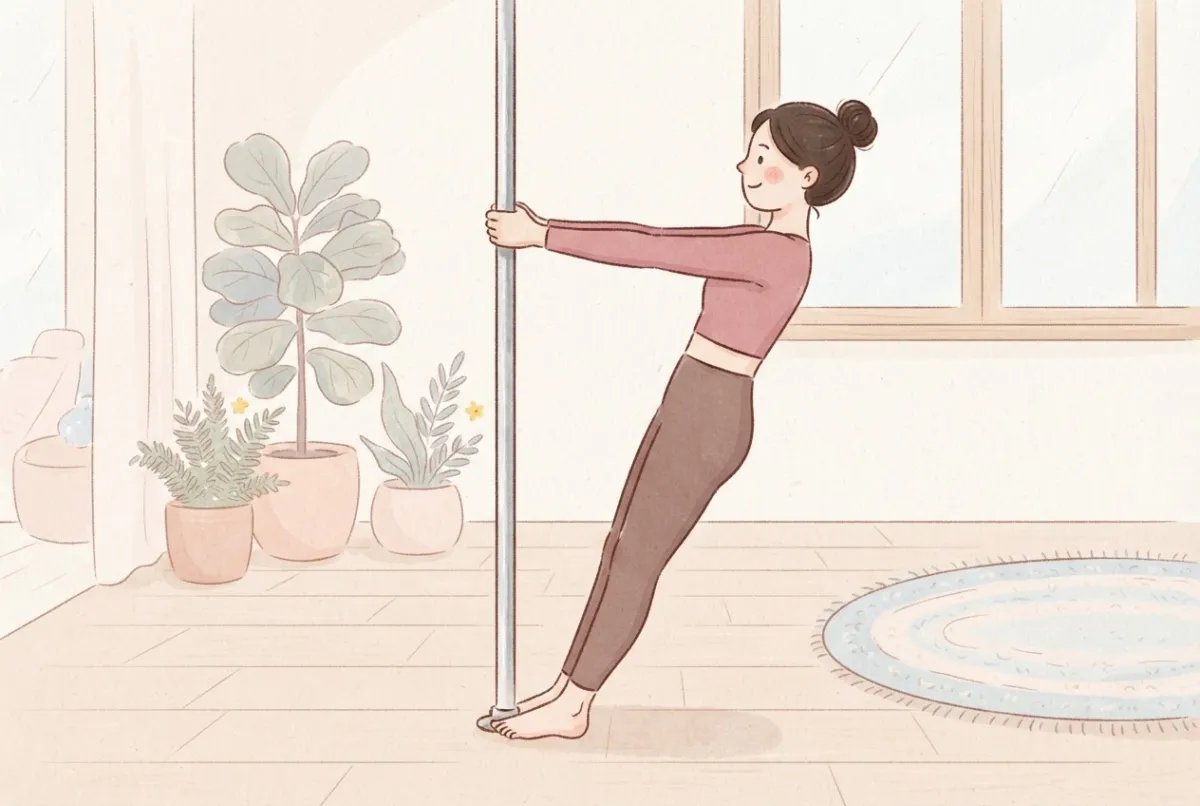
- Lean-back grip holds, 1 minute. Stand facing the pole, hold it with both hands at chest height, and lean back with straight arms until your weight hangs gently from your grip. Hold 10 seconds, rest 5, and repeat four times. Feel your forearms and the backs of your shoulders working, with your wrists in a straight line.
- Split grip push and pull, 1 minute. Place one hand high on the pole and one low, as for a shoulder mount or handspring. Pull with the top hand and push with the bottom hand for 5 seconds without leaving the floor, then relax. Do three on each side. The push hand's wrist should feel loaded but comfortable.
- Grip rehearsal, 1 minute. Practise the grip you'll use tonight with your feet on the floor, whether that's cup, twisted, forearm or elbow grip. Set it up, hold it with a light lean for 5 seconds, and let go, three times on each side. This is where you notice anything that feels off before you're upside down.
- Two easy spins each side, 1 minute. Finish with two of your easiest spins on each side at half effort. If your wrists feel good after these, you're ready to start class properly.
Masha's tip: If something feels sharp or pinchy in the floor section, turn your hands slightly outwards, put a folded towel under the heels of your hands, or make fists instead. You still get the warm-up without forcing the wrist into a position it isn't ready for that day.
How should you change the warm-up for aerial hoop and silks?
Parts 1 to 3 stay the same. For Part 4, swap the pole drills for apparatus-specific ones that keep your feet on the floor, such as gripping the hoop bar or the fabric at chest height and leaning back, a few short hangs with your toes still touching the mat, and a couple of gentle pulls to lift your heels. For silks, add a few seconds of squeezing the fabric hard and relaxing, because climbing asks a lot of grip endurance. Our guide to wrist care for aerial hoop and silks explains why grip endurance matters so much in the air.
What should a warm-up feel like, and when should you stop?
By the end you should feel warm, a little bit pumped in the forearms and ready to grip. Mild stiffness that eases as you move is normal, especially first thing in the morning or in winter.
Stop and skip that exercise if you feel a sharp or pinching pain, a click with pain, or any tingling or numbness in your hand. If the same spot hurts warm-up after warm-up, that's a sign to get it looked at, and our guide to pole dance wrist pain covers what different pain patterns can mean and when to see a physio.
How long before class should you do it?
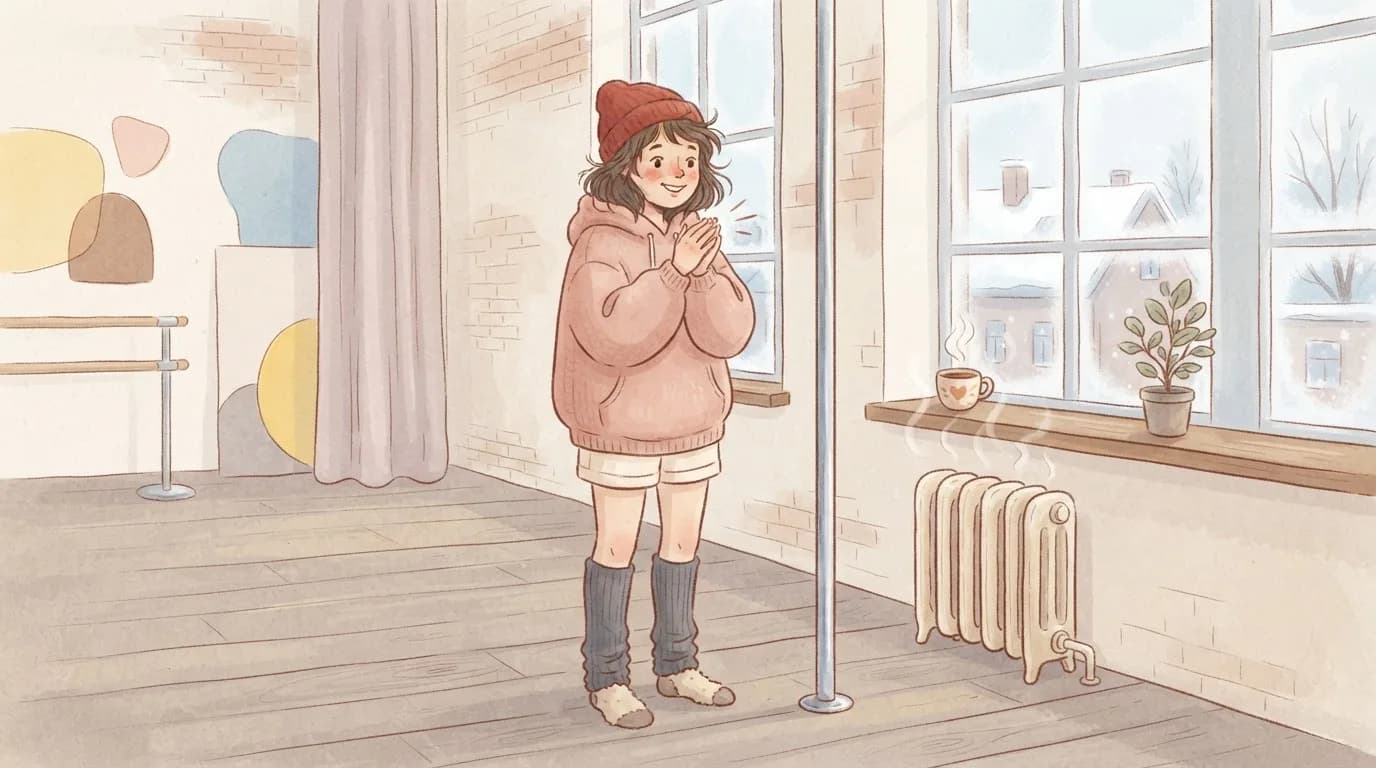
Do it right before you start the hard work, because the benefit of warming up fades if you then sit around getting cold. If there's a gap between your warm-up and your turn on the pole, keep a layer on and repeat the fist-to-star and lean-back holds before you go again. Keeping warm between turns can make a real difference to how much power you have, and some research has found that wearing extra insulation between a warm-up and the effort itself helps preserve that (Cowper and colleagues, 2022). If your studio is cold in winter, our guide to warming up in a cold studio has more ideas.
What about wrist wraps, and what comes after the warm-up?
If you wear wrist wraps, put them on after the warm-up so you can move your wrists through their full range first, and check they feel snug once your wrists are warm. Our guide to wearing wrist wraps for pole covers where they should sit so they don't touch your grip.
A warm-up gets you ready for one session, but it won't build strength on its own. If your wrists still struggle with handsprings, shoulder mounts or floorwork, add our six-week conditioning plan for pole wrists two or three times a week, and see our general guide to wrist exercises for more ideas.
After class, a minute of easy wrist circles and the prayer stretches helps you notice how your wrists feel, and that's useful information for planning your next session.
More in Pole & aerial training
- Wrist Pain from Pole Dancing: Why It Happens and What Helps
- Exotic Pole Floorwork in Heels: How to Look After Your Wrists and Knees
- A 20-Minute Home Pole Conditioning Session (Most of It Needs No Pole)
- How to Clean a Dance Pole: Chrome, Brass, Stainless, Powder-Coated and Silicone
- Pole Kisses: Why Pole Dancing Bruises You and When a Bruise Needs Checking
- Can You Still Pole Dance With a Sore Wrist? What to Train While It Settles
- Pole Grip Aids Compared: Which Type Suits Dry, Sweaty or Cold Hands?
- Pole vs Aerial Hoop vs Silks: Which Is Hardest on Your Wrists?
Questions people ask
How long should you warm up your wrists before pole?
About ten minutes is enough for most people after a general warm-up. On a cold day or before a heavy handspring or handstand session, give it a few minutes longer.
Should wrist stretches hurt?
No. You should feel a gentle stretch in the forearm, not a pinch or a sharp pain in the joint. If a position pinches, make it smaller, raise the heels of your hands on a towel or use fists instead.
Can I do this warm-up at home without a pole?
Yes. Parts 1 to 3 need only floor space, and for Part 4 you can lean back holding a sturdy door frame or a resistance band anchored at chest height. Just make sure whatever you hold is solid.
Is it better to warm up wrists with or without wrist wraps?
Warm up without them so your wrists can move through their full range, then put your wraps on before the main part of class and check they still feel snug.
What if my wrists still hurt after warming up?
A warm-up can loosen stiffness but it won't fix an overloaded or injured wrist. If the same spot hurts session after session, cut down the grip-heavy moves and see a physio.
Shop the fix
Wraps made for exactly this
Handmade in Slovenia by a pole teacher, with firm compression that sits low on the wrist.
Sources we checked
- Bishop (2003): Warm up I, potential mechanisms and the effects of passive warm up on exercise performance, Sports Medicine
- Cowper et al. (2022): The impact of passive heat maintenance strategies between an active warm-up and performance
- Ramadan (2017): The effects of industrial protective gloves and hand skin temperatures on hand grip strength
- NHS: Wrist pain
Written by
Masha Pinner
Pole dance teacher at Pandora Art of Pole in Slovenia and former fashion designer. Masha started SneakyDeez in 2017 after years of teaching on sore wrists, and she still designs every pair.
Read Masha’s story