The short version
- The session runs for 20 minutes: a 4-minute warm-up, a 12-minute circuit, a 2-minute finisher and a 2-minute cool-down.
- The circuit is six exercises for 40 seconds with 20 seconds of rest, done twice, and none of them needs a pole.
- Swap floor push-ups for dumbbell handles, fists, forearms or a raised surface if your wrists are tired or sore.
- Do it two or three times a week on days without a hard pole class, and progress one change at a time.
- Muscle soreness that fades in a few days is normal, but joint pain in one spot, numbness or tingling means back off and get it checked.
A good 20-minute home pole conditioning session has three parts: a 4-minute warm-up, a 12-minute strength circuit for your core, shoulders, back, glutes and grip, and a 4-minute finisher and cool-down. You only need a mat, a towel, a wall and a timer, because everything except one optional finisher works without a pole. Do it two or three times a week on days you don't have a hard pole class, and swap any move that hurts your wrists for the forearm or fist version.
This is the session I'd give a student who wants to get stronger for pole between classes but doesn't have an hour, a gym or a pole at home. It's a whole-body session, so if your wrists specifically are what's holding you back, pair it with our 6-week wrist conditioning plan for pole.
What do you need for pole conditioning at home?
- A mat or a rug, so your knees and elbows are comfortable on the floor.
- A hand towel, which doubles as your grip trainer.
- A clear bit of wall and a sturdy sofa or chair that won't slide.
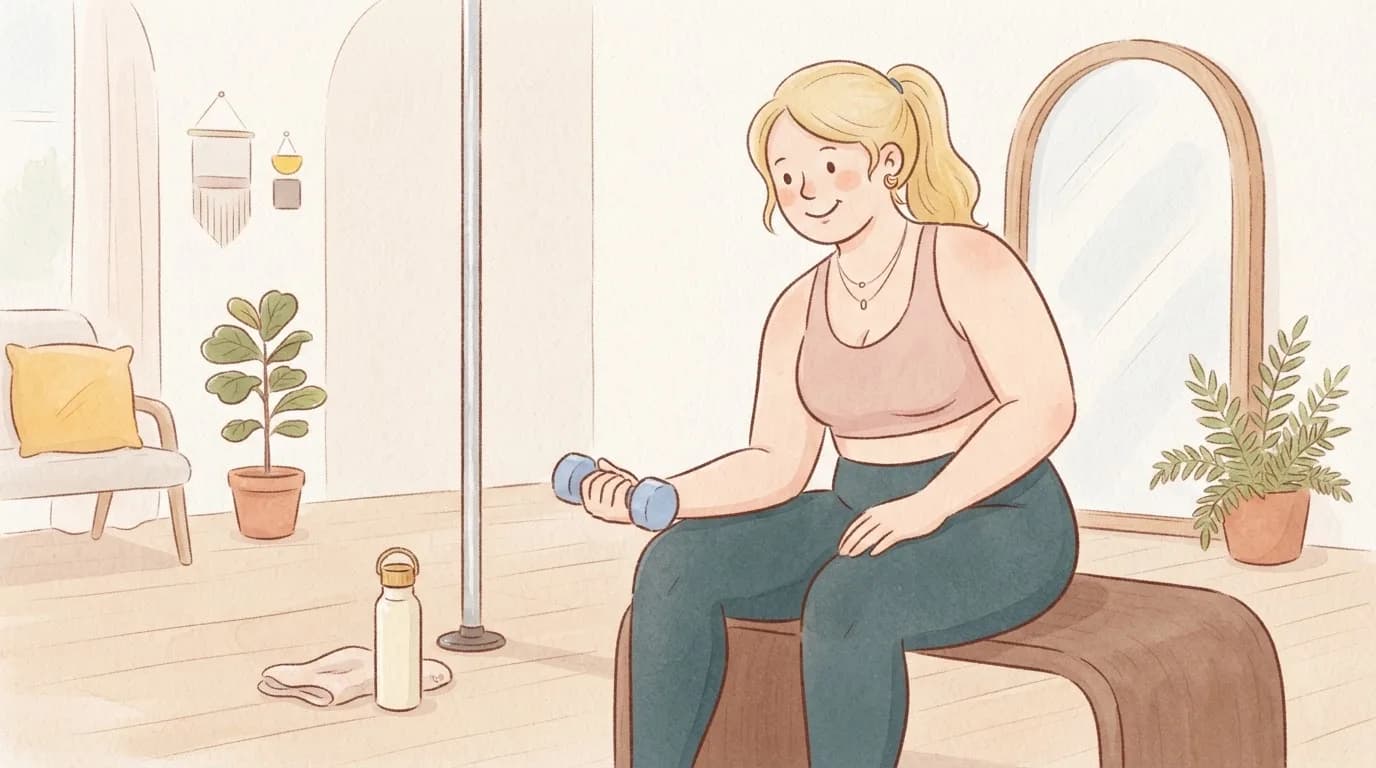
- Two light dumbbells or full water bottles, which are optional but handy for the wrist-friendly push-up.
- A timer on your phone set to 40 seconds of work and 20 seconds of rest.
A home pole is optional. If you do have one, follow the manufacturer's instructions for installing it and have it checked before you hang any weight from it, and only use it for the one finisher that asks for it.
Who is this session for?
It's for anyone who already does pole or wants to start, has healthy joints and would like more strength for climbs, inverts, holds and floorwork. Every exercise has an easier and a harder version, so beginners and experienced dancers can both use it.
If you have a current injury, pain that sits in one spot, swelling, or numbness and tingling in your hands, see a doctor or physio before you start and follow their advice. The same goes for anyone who is pregnant or recovering from surgery. Mild effort and the feeling of muscles working are expected, but sharp pain, or pain that builds as you go, means stop.
The 20-minute session at a glance
| Time | Block | What you do |
|---|---|---|
| 0:00 to 4:00 | Warm-up | Four 1-minute moves to wake up the whole body |
| 4:00 to 16:00 | Strength circuit | Six exercises, 40 seconds on and 20 seconds off, done twice through |
| 16:00 to 18:00 | Finisher | A wall sit, a superman hold or a supported pole hang, 3 short rounds |
| 18:00 to 20:00 | Cool-down | Gentle stretches for forearms, chest and hips |
Warm-up: 0:00 to 4:00
- March and arm circles, 1 minute. March on the spot while you circle your arms forwards and then backwards, starting small and getting bigger. You should feel warmer and a little out of breath by the end.
- Cat-cow, 1 minute. On hands and knees, or on your forearms if your wrists prefer, slowly round your back up to the ceiling and then let your chest sink. Move with your breath.
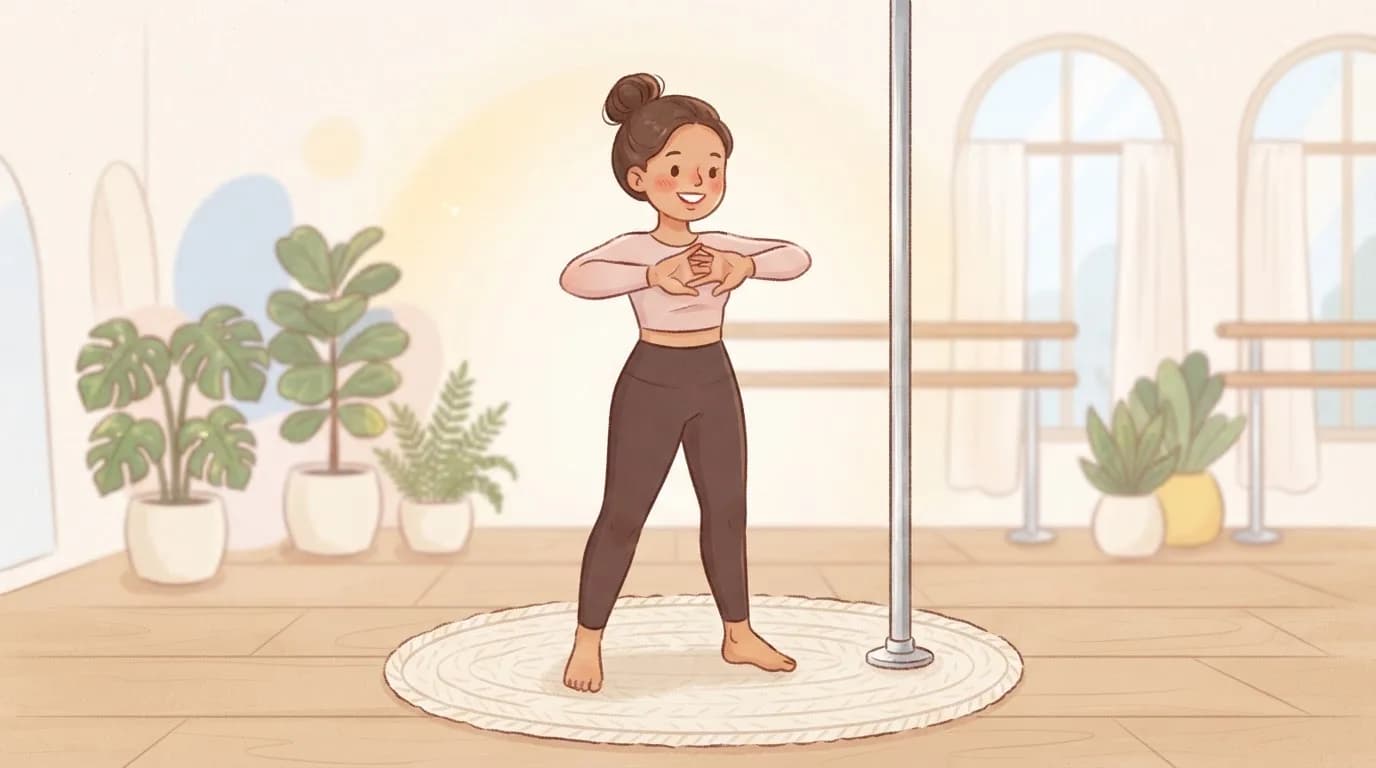
- Wrist circles and palm presses, 1 minute. Circle your wrists both ways, then press your palms together in front of your chest and lower them gently until you feel a light stretch. Our 10-minute wrist warm-up for pole and aerial has the longer version.
- Wall shoulder blade push-ups, 1 minute. Stand facing a wall with straight arms and your hands on it at shoulder height. Without bending your elbows, let your shoulder blades slide together and then push them apart. It's a small movement, and you'll feel it between and around the shoulder blades.
Strength circuit: 4:00 to 16:00
Do each exercise for 40 seconds, rest for 20 seconds while you move to the next one, and go through all six twice. Aim for an effort of about 7 out of 10, where the last few reps feel hard but you can still keep good form.
- Hollow body hold or dead bug. Lie on your back, press your lower back into the mat and lift your arms and legs. For the easier dead bug, keep your knees bent over your hips and slowly lower one arm and the opposite leg at a time. For the hollow hold, stretch your arms and legs out long and hover them. You'll feel your lower belly working hard, and your lower back should stay glued to the floor. This is the shape behind inverts and tuck lifts.
- Push-ups. Choose the level that lets you do good reps for the whole 40 seconds: hands on a wall, hands on the edge of a sturdy sofa, knees on the floor, or full push-ups. Keep your elbows angled back a little rather than flared out to the sides, and your body in one line. If your wrists complain, use one of the wrist-friendly options further down.
- Prone Y and T raises. Lie face down with your forehead on a folded towel. Lift your arms off the floor in a Y shape for a breath, lower, then lift them out to the sides in a T. Thumbs point up and the lift is small. You'll feel it around your shoulder blades and upper back, which work hard in climbs and pulls.
- Glute bridge. Lie on your back with your knees bent and feet flat, then press through your heels to lift your hips until your body makes a line from knees to shoulders. Pause at the top and lower slowly. For a harder version, do single-leg bridges and switch legs halfway. You should feel it in your bum and the backs of your thighs, and not in your lower back.
- Forearm side plank. Lie on your side with your elbow under your shoulder and lift your hips, with your knees bent and down for the easier version or your legs straight for the harder one. Do 20 seconds on each side. It works the sides of your waist and the shoulder you're leaning on, without putting weight through the wrist.
- Towel wring and squeeze. Roll a hand towel into a tube, hold it in front of you with both hands and wring it as hard as you can one way, then the other, as if you were squeezing out water. Finish the 40 seconds by squeezing it tight in each fist. Your forearms will burn a little, and that's the grip strength you use on the pole.
Finisher: 16:00 to 18:00
Pick one of these and do 3 rounds of 20 seconds on with 20 seconds off.
- Without a pole: wall sit. Lean your back against the wall and slide down until your knees are bent at about a right angle, or higher if that's too much. Hold it while you squeeze a rolled towel between your knees. Your thighs will shake, which is the leg strength you use for climbs and leg hangs.
- Without a pole: superman hold. Lie face down and lift your arms, chest and legs a few centimetres off the floor, keeping your neck long and your gaze on the mat. You'll feel the whole back of your body working.
- With a pole: supported active hang. Only on a pole that has been installed following the manufacturer's instructions and checked. Hold the pole with both hands above your head and keep your toes on the floor so they take some of your weight. Draw your shoulders gently down away from your ears, hold, then relax. Keep your feet touching the floor the whole time, because the point is the shoulder control and not the hang.
Cool-down: 18:00 to 20:00
- Forearm stretch, 40 seconds. Hold one arm straight out in front, palm up, and use your other hand to ease your fingers gently back until you feel a light stretch along the inside of your forearm. Then turn the palm down and ease the hand towards you. Switch arms halfway.
- Doorway chest stretch, 40 seconds. Place your forearm on a door frame at shoulder height and turn your body gently away until you feel the front of your chest and shoulder open. Switch sides halfway.
- Kneeling hip flexor stretch, 40 seconds. Kneel on one knee with the other foot in front, tuck your tailbone under slightly and shift forwards until you feel a stretch at the front of the back hip. Switch sides halfway.
How do you make it wrist-friendly?
Pole already asks a lot of your wrists, so go easy on them on your days off. Most of the session avoids weight on the hands anyway, and for the moves that do, these swaps help.
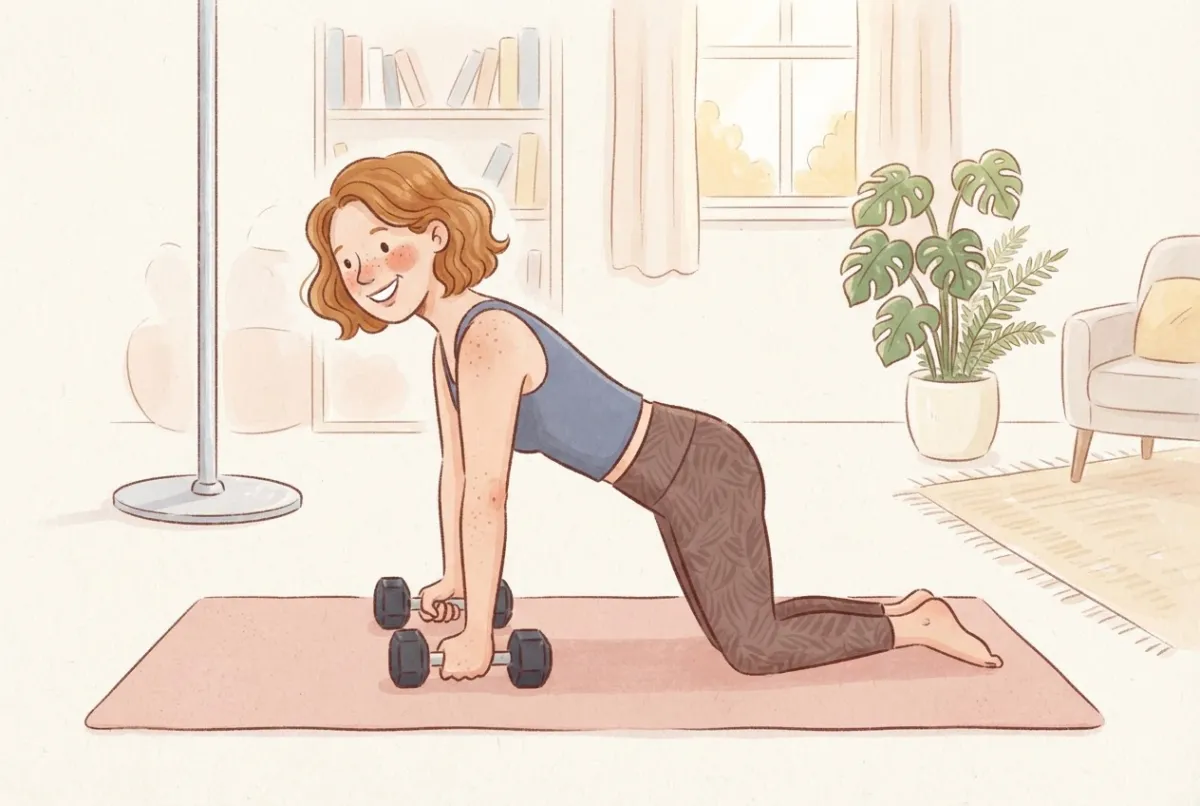
- Grip dumbbell handles or make fists. Holding upright dumbbells, or resting on your knuckles on a soft mat, keeps the wrist straight instead of bent right back.
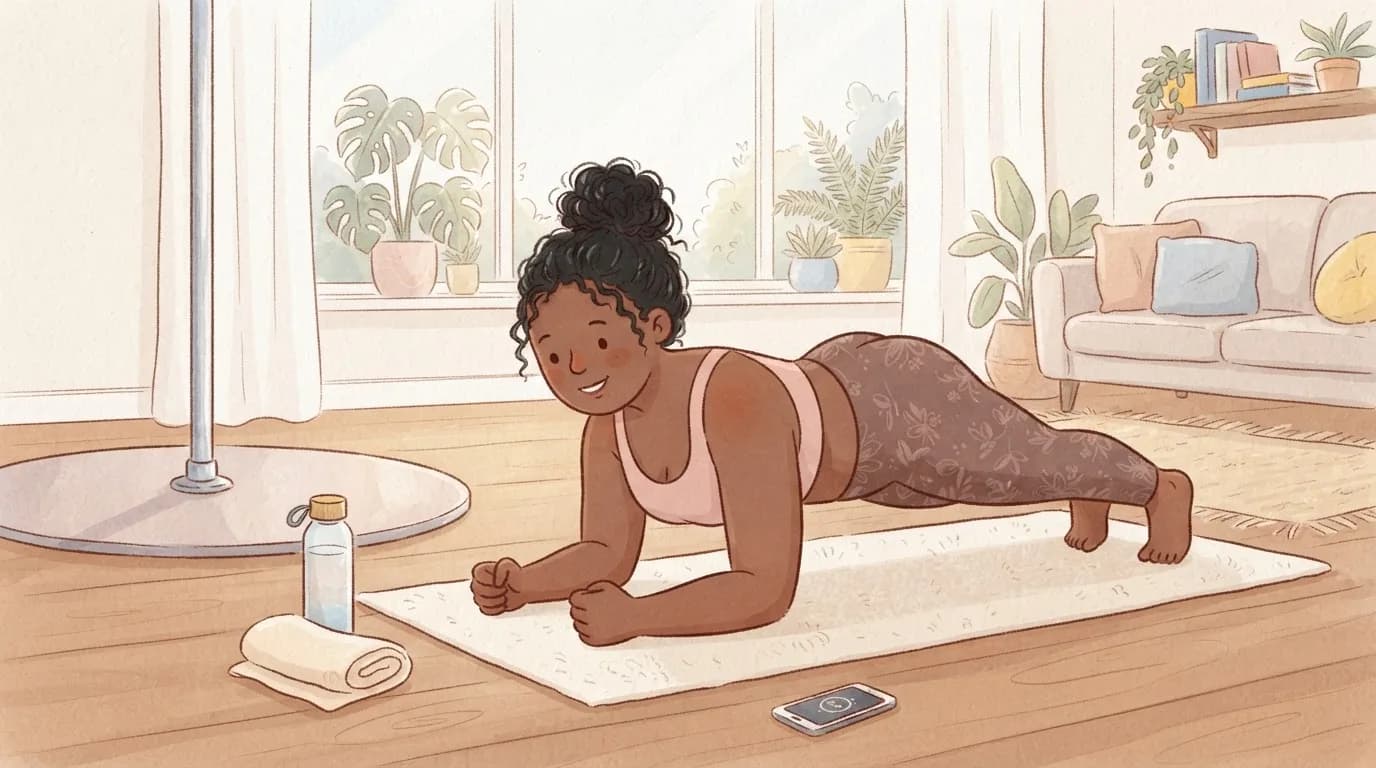
- Go on your forearms. A forearm plank works the core and shoulders without any wrist load at all, and you can do cat-cow on your forearms too.
- Raise your hands. Push-ups against a wall or a sofa put less of your body weight through your hands than push-ups on the floor.
- Wear your wraps if you like the support and warmth. Firm compression low on the wrist feels reassuring for many people in push-ups and planks.
Masha's tip: Put the timer on and the mat down before you've had time to talk yourself out of it. Twenty minutes is short enough to do in your pyjamas before breakfast, and doing it at the same time on the same days each week makes it so much easier to keep going.
How should it feel, and how sore is too sore?
During the session you should feel your muscles working, get warm and breathe harder, and the last reps of each block should be a challenge. A day or two later you might feel some general muscle soreness, especially if the exercises are new to you. That kind of soreness usually fades within a few days, as the Cleveland Clinic explains about delayed onset muscle soreness.
Pain in a joint needs a bit more care, so if a wrist, shoulder or elbow hurts in one spot, hurts more the next morning than before you trained, or gives you numbness or tingling, go back to an easier version or skip that move. See a doctor or physio if you notice swelling after a fall, numbness or tingling that stays, pain that wakes you at night, weakness in your grip, or pain that hasn't improved after a couple of weeks. Our guide to wrist pain from pole dancing goes through the warning signs in more detail.
How often should you do it, and how do you progress?
Two or three times a week is plenty, with at least a day in between and preferably not right before a demanding pole class. That also lines up neatly with the general NHS advice that adults should do muscle-strengthening activities that work all the major muscle groups on at least two days a week (NHS).
When the session starts to feel easy, make one change at a time. You can move to 45 seconds of work and 15 of rest, pick the harder version of one or two exercises, or add a third round of the circuit, which turns it into a 26-minute session. Muscles get stronger within a few weeks, but tendons adapt more slowly, over months, so progress the moves that load your wrists and shoulders more gently than the rest (Mersmann and colleagues, 2017). In a large survey of pole dancers, the shoulder and the wrist were among the areas most often injured, which is a good reason to build strength there patiently (Lee, Lin and Tan, 2020).
If you're new to pole, our guide to your wrists in the first month of pole explains how quickly to build up, and this session fits nicely alongside it.
Questions people ask
Can you get stronger for pole without a pole?
Yes. Much of the strength pole needs comes from your core, shoulders, back, glutes and grip, and you can train all of those on the floor at home. You still need time on the pole to learn the moves themselves.
Should I do pole conditioning on the same day as a pole class?
It's usually better on a different day, so your muscles and wrists aren't already tired when you go to class. If you only have one free day, do the session after class rather than before it.
Is 20 minutes of conditioning enough?
Two or three focused 20-minute sessions a week is a solid amount for most recreational dancers, especially alongside regular pole classes. Being consistent for a few months matters more than making each session longer.
What if push-ups hurt my wrists?
Try gripping upright dumbbells, resting on your fists on a soft mat, doing them on your forearms as a plank or raising your hands onto a wall or sofa. If they still hurt, skip them and get your wrists checked by a physio.
Do I need a home pole to do this workout?
No. Only one optional finisher uses a pole, and there are two no-pole finishers to choose from instead. If you do use a home pole, follow the manufacturer's instructions and have it checked first.
Shop the fix
Wraps made for exactly this
Handmade in Slovenia by a pole teacher, with firm compression that sits low on the wrist.
Sources we checked
Written by
Masha Pinner
Pole dance teacher at Pandora Art of Pole in Slovenia and former fashion designer. Masha started SneakyDeez in 2017 after years of teaching on sore wrists, and she still designs every pair.
Read Masha’s story