The short version
- Two or three short conditioning sessions a week for at least six weeks give your wrists time to adapt to pole.
- Train the forearm in every direction, then load the wrist on the floor, then add pole-specific push and pull holds with your feet down.
- Mild discomfort up to about 3 out of 10 is fine if it has settled by the next morning, otherwise repeat the previous week.
- Split grip push and pull holds are the support work for both handsprings and shoulder mounts.
- Keep a shorter version going once or twice a week after the plan, because strength you stop using fades.
To build stronger wrists for pole, do a short conditioning routine two or three times a week for at least four to six weeks, on days when you're not doing a heavy pole class. Work the forearm in every direction with light weights, gradually load the wrist on the floor, and add pole-specific push and pull holds with your feet on the ground before you ask your wrists to carry handsprings and shoulder mounts. Go slowly, because tendons take longer to adapt than muscles, and use the next-morning check to decide when to progress.
This is the plan I'd give a student whose wrists are the thing holding them back. It takes about fifteen minutes, needs a light dumbbell or a full water bottle, a rubber band and a pole, and it fits easily around your classes. If you'd like a full-body session to go with it, my 20-minute home pole conditioning routine trains your core, shoulders, back and grip with barely any pole time.
Why do pole dancers need wrist conditioning?
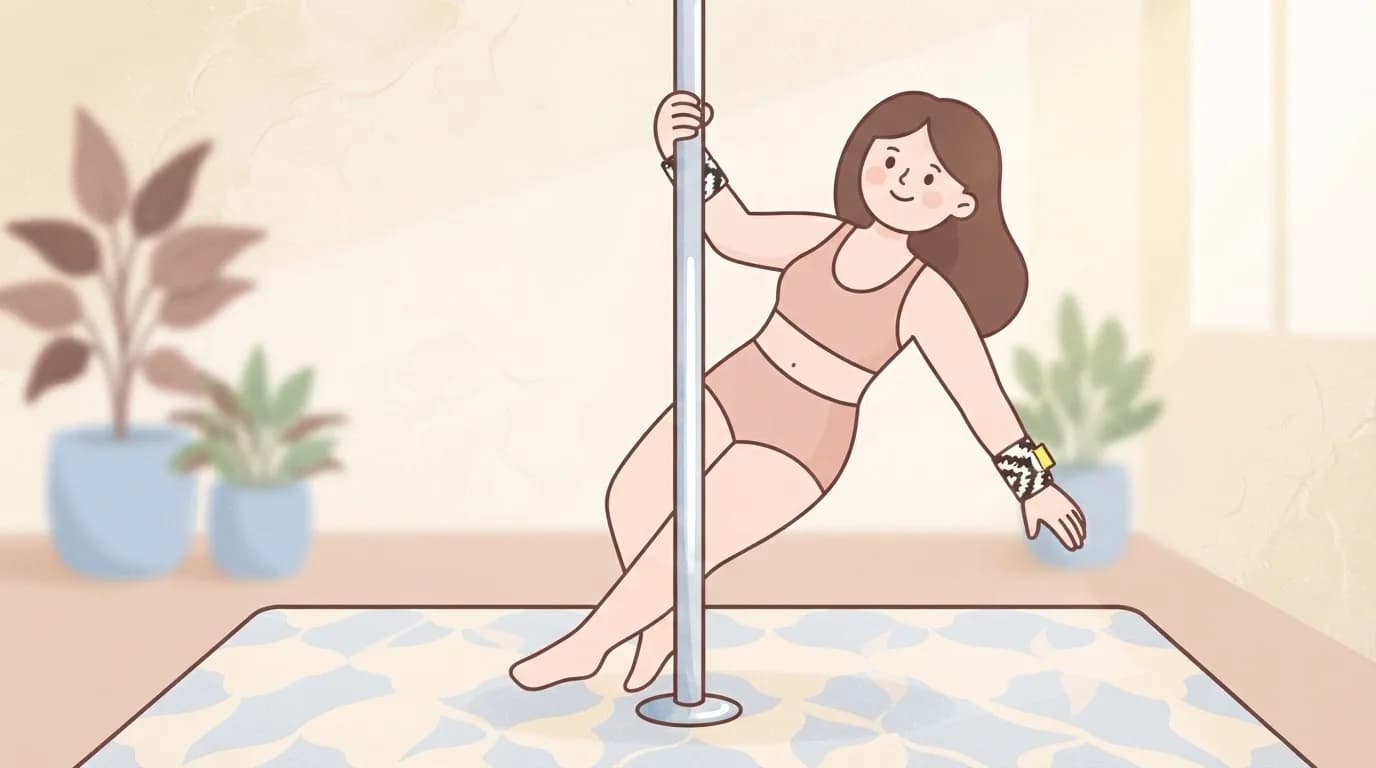
Pole puts a lot of new load through the wrists very quickly. You hang from your grip in spins, twist through the forearm in handsprings, and push into the pole or the floor with the wrist bent back in shoulder mounts, inverts and floorwork. Surveys of pole dancers consistently put the wrist among the most commonly injured areas, second only to the shoulder in one large study (Lee and colleagues, 2020).
Your muscles get stronger in a few weeks, but tendons and ligaments adapt over months, so it's easy to feel strong enough for a move before your wrists can take the repetitions (Mersmann and colleagues, 2017). Conditioning gives those slower tissues regular, manageable load so they can catch up, which is something class alone doesn't always do.
Before you start
This plan is for healthy wrists that feel tired or weak. If you have a current injury, pain that sits in one spot, swelling, or numbness and tingling, see a doctor or physio first and follow their plan. Our guide to wrist pain from pole dancing explains the warning signs.
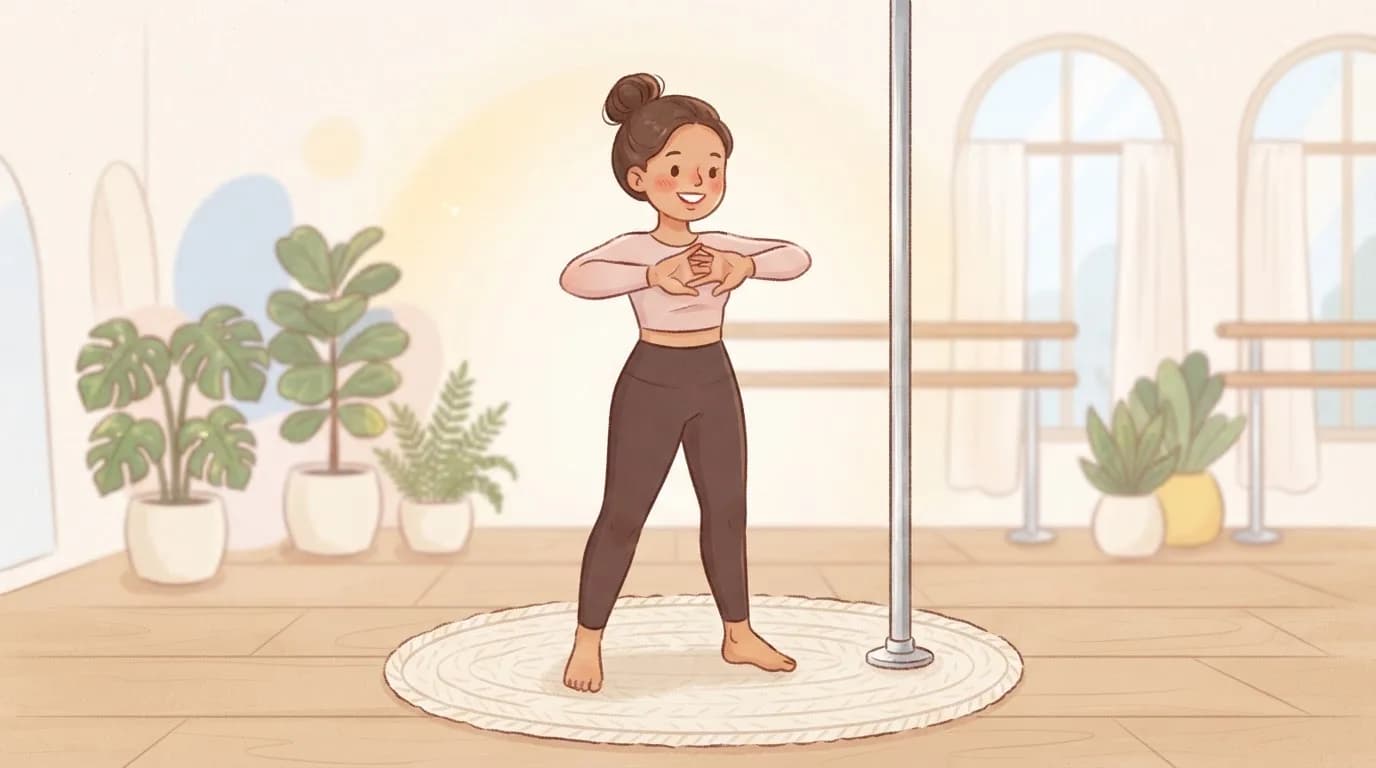
Warm up first with the floor part of our 10-minute wrist warm-up. Then use this simple rule, which many physios use with their clients: some effort and mild discomfort during an exercise is fine, up to about 3 out of 10, as long as it has settled by the next morning. If your wrist is sorer the next morning than it was before the session, repeat the previous week instead of moving on.
The exercises
Forearm strength
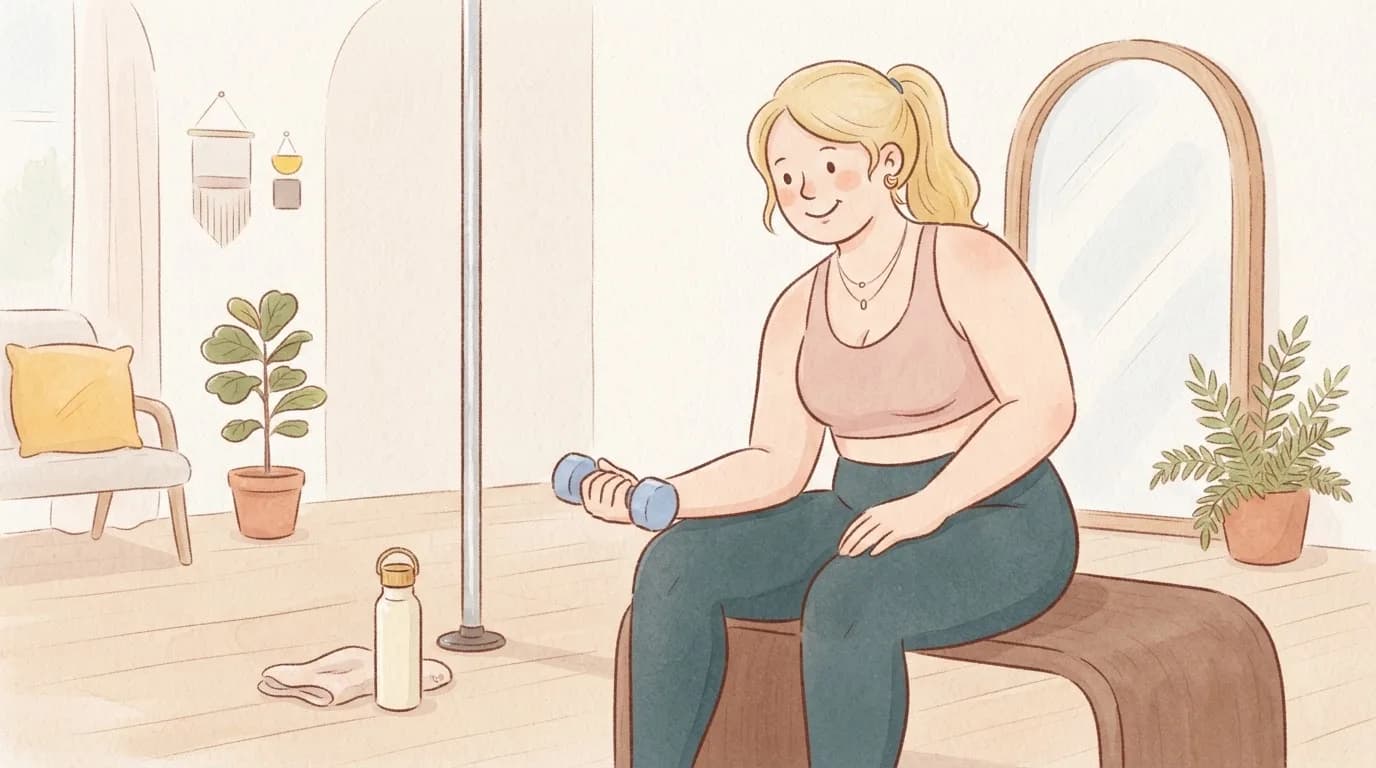
- Wrist curls. Sit with your forearm resting on your thigh, palm up, holding a light dumbbell or water bottle. Curl the hand up slowly, then lower it for a slow count of three. You'll feel it in the inside of your forearm.
- Reverse wrist curls. The same, palm down. This works the back of the forearm, which balances all the squeezing pole asks for. Use a lighter weight than for curls.
- Forearm rotations. Hold a hammer or a dumbbell by one end, elbow bent at your side, and slowly turn your palm up and down. Hold it further from the heavy end to make it harder. This prepares you for the twisting in handspring grips.
- Side-to-side tilts. Hold the hammer upright with your forearm resting on your thigh and tilt it slowly forwards and back, then turn your arm over and do the same, so you work the wrist towards both the thumb and the little finger.
- Finger extensions. Put a rubber band around your fingers and thumb and open your hand against it. Slow and controlled, all the way open.
Floor loading
- Tabletop rocks. On hands and knees, rock slowly forwards over your hands and back. Build up how far forward you go and how long you stay there.
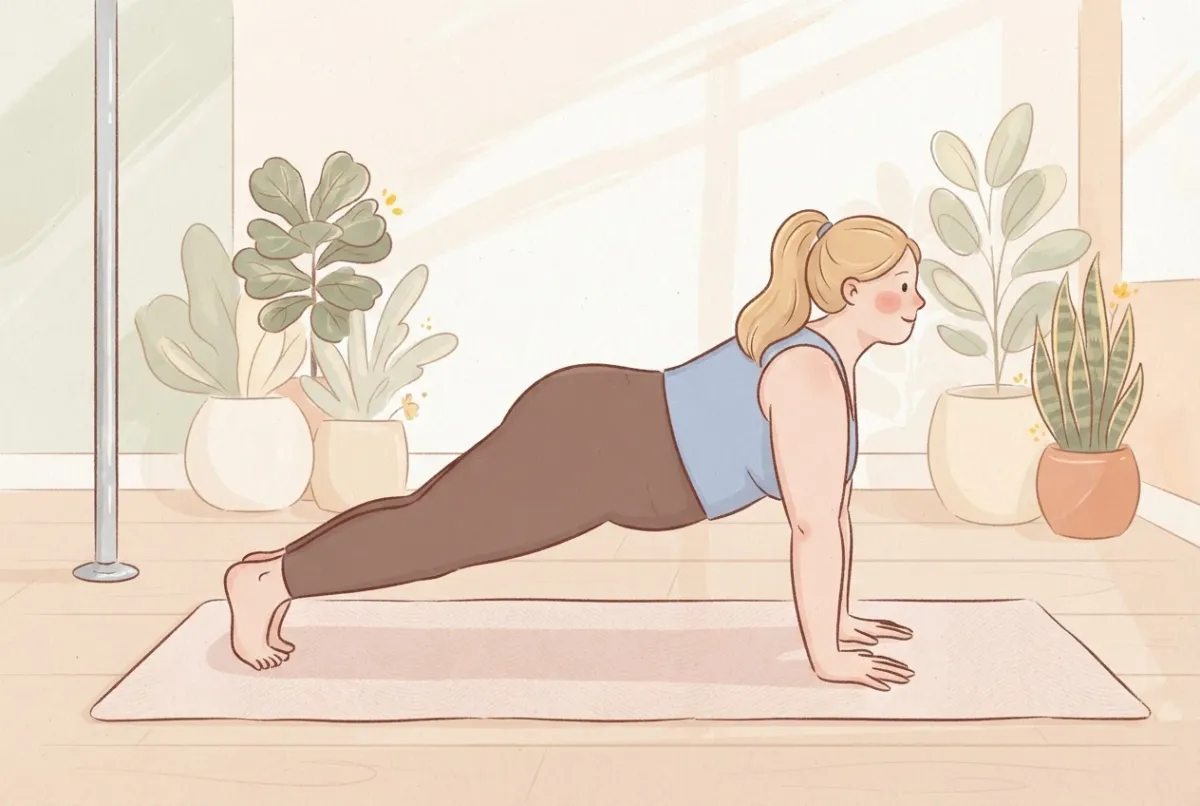
- Plank holds on hands. From knees first, then from feet, with your hands under your shoulders and fingers spread, pressing the floor away. Your wrists carry real weight here in a position close to floorwork.
- Wall handstand holds. Only once planks feel easy, and only if you already know how to get into and out of a handstand safely. Short holds with your back to the wall or chest to the wall.
Pole-specific holds
- Lean-back grip holds. Face the pole, hands at chest height, and lean back with straight arms. Try it in cup grip and in the grip you normally use for handsprings.
- Split grip push and pull. One hand high, one low, as for a shoulder mount or handspring. Pull with the top hand and push with the bottom hand as hard as you comfortably can without leaving the floor. This is the support work for both moves, and your bottom wrist learns to take load bent back.
- Pole hangs. Both hands on the pole above your head, lift your feet briefly so you hang with your shoulders gently drawn down. Short holds only to start.
- Tuck or chair holds. Weeks 5 and 6 only, and only if your teacher has already taught you the handspring or shoulder mount setup. From your usual grip, lift into a small tuck for a couple of seconds and lower with control.
The 6-week plan
Do it two or three times a week with at least a day in between, and not right before a big pole class. Each session takes about fifteen minutes after your warm-up.
| Week | Forearm strength (1–5) | Floor loading (6–8) | Pole holds (9–12) |
|---|---|---|---|
| 1 | 2 sets of 12, very light | Tabletop rocks, 2 × 30 s | Lean-back holds, 3 × 10 s |
| 2 | 2 sets of 15, very light | Tabletop rocks 2 × 30 s, knee plank 2 × 15 s | Lean-back holds 3 × 15 s, push and pull 3 × 5 s each side |
| 3 | 3 sets of 12, slightly heavier | Knee plank 2 × 20 s, full plank 2 × 15 s | Push and pull 3 × 8 s each side, pole hangs 3 × 5 s |
| 4 | 3 sets of 15 | Full plank 3 × 20 s | Push and pull 3 × 10 s each side, pole hangs 3 × 8 s |
| 5 | 3 sets of 12, heavier again | Full plank 3 × 30 s, wall handstand 3 × 10 s if ready | Push and pull 3 × 10 s, hangs 3 × 10 s, tuck holds 3 × 2 s each side |
| 6 | 3 sets of 15 | Full plank 3 × 30 s, wall handstand 3 × 15 s if ready | Push and pull 3 × 12 s, hangs 3 × 12 s, tuck holds 3 × 3 s each side |
Lower the weights slowly, rest about a minute between sets, and always work both sides, starting with your weaker one. If a week felt hard, repeat it. Progress comes from doing this consistently for a couple of months, so there's nothing to gain from rushing through the table.
Masha's tip: Write down your hold times and how your wrists felt the next morning. After a few weeks you'll see the numbers creep up, and you'll also learn exactly how much your wrists like, which helps you plan your classes too.
How do you progress towards handsprings and shoulder mounts?
Once week 6 feels comfortable, your wrists are in a much better place to start drilling handsprings and shoulder mounts in class, but build those up gradually as well. Keep the number of attempts low at first, three or four per side, with full rests. Many dancers find cup grip the easiest on the wrist for handsprings, because it keeps the wrist closer to neutral than twisted or split grip (The Pole Physio), so it's worth trying if your wrists complain.
Keep doing a shorter version of the plan once or twice a week even when you're training the full moves, because strength you stop using fades. The floor loading part is also a great base for handstands, and our guide to wrist pain in handstands has more on that position.
Should you wear wrist wraps while conditioning?
For the forearm exercises you don't need them, because the point is for the muscles to do the work. Many dancers like wraps for the heavier floor and pole holds and for the first weeks of drilling new moves, because the compression feels supportive and keeps the joint warm. Wraps support the wrist while you train, but the conditioning is what makes it stronger. Our guide to wrist wraps for pole covers which width and fit suit pole.

What if your wrists hurt during the plan?
Mild muscle soreness in the forearms a day or two later is normal and fades within a few days. Pain that's sharp, sits in one spot of the joint, clicks, or gets worse from session to session isn't, so stop that exercise and go back a week. If it doesn't settle, or you notice swelling, numbness, tingling or night pain, see a doctor or physio, as the NHS advice on wrist pain also recommends. For more exercise ideas, see our guides on how to strengthen your wrists and wrist exercises, and if you also train in the air, our hoop and silks wrist guide adds grip endurance work.
More in Pole & aerial training
- Wrist Pain from Pole Dancing: Why It Happens and What Helps
- Exotic Pole Floorwork in Heels: How to Look After Your Wrists and Knees
- A 20-Minute Home Pole Conditioning Session (Most of It Needs No Pole)
- How to Clean a Dance Pole: Chrome, Brass, Stainless, Powder-Coated and Silicone
- Pole Kisses: Why Pole Dancing Bruises You and When a Bruise Needs Checking
- Can You Still Pole Dance With a Sore Wrist? What to Train While It Settles
- Pole Grip Aids Compared: Which Type Suits Dry, Sweaty or Cold Hands?
- Pole vs Aerial Hoop vs Silks: Which Is Hardest on Your Wrists?
Questions people ask
How long does it take to strengthen wrists for pole?
Most people notice their wrists feel more solid after four to six weeks of regular conditioning, but tendons and ligaments keep adapting for months. Keep training them consistently rather than expecting a quick fix.
What is the best exercise for pole wrist strength?
There isn't one best exercise. A mix of wrist curls, reverse curls, forearm rotations, floor loading such as planks, and pole push and pull holds covers the ways pole actually loads your wrists.
Can I do wrist conditioning on the same day as pole class?
You can do a light version after class, but heavier sessions are better on non-pole days so your wrists get some recovery. Never do a hard conditioning session right before a class full of handsprings.
Do I need weights for wrist conditioning?
A light dumbbell helps, but a full water bottle, a hammer and a rubber band are enough for the whole forearm section. The floor and pole exercises use your body weight.
How do I know when I'm ready for handsprings?
Your teacher is the best judge, but comfortable split grip push and pull holds, solid pole hangs and planks without wrist pain are good signs. Start with a few attempts per side and build slowly.
Shop the fix
Wraps made for exactly this
Handmade in Slovenia by a pole teacher, with firm compression that sits low on the wrist.
Sources we checked
Written by
Masha Pinner
Pole dance teacher at Pandora Art of Pole in Slovenia and former fashion designer. Masha started SneakyDeez in 2017 after years of teaching on sore wrists, and she still designs every pair.
Read Masha’s story