The short version
- Film one set of push-ups from the side and the front to spot form mistakes quickly.
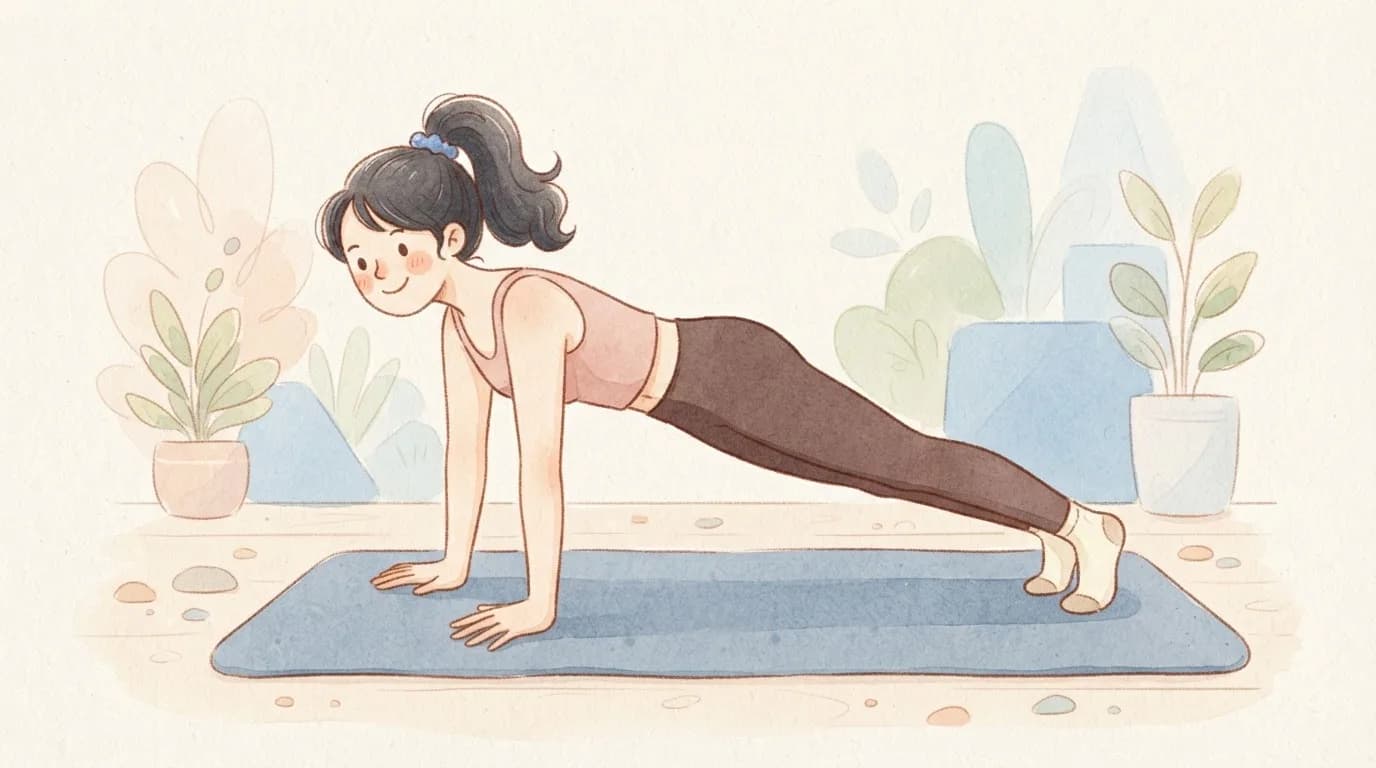
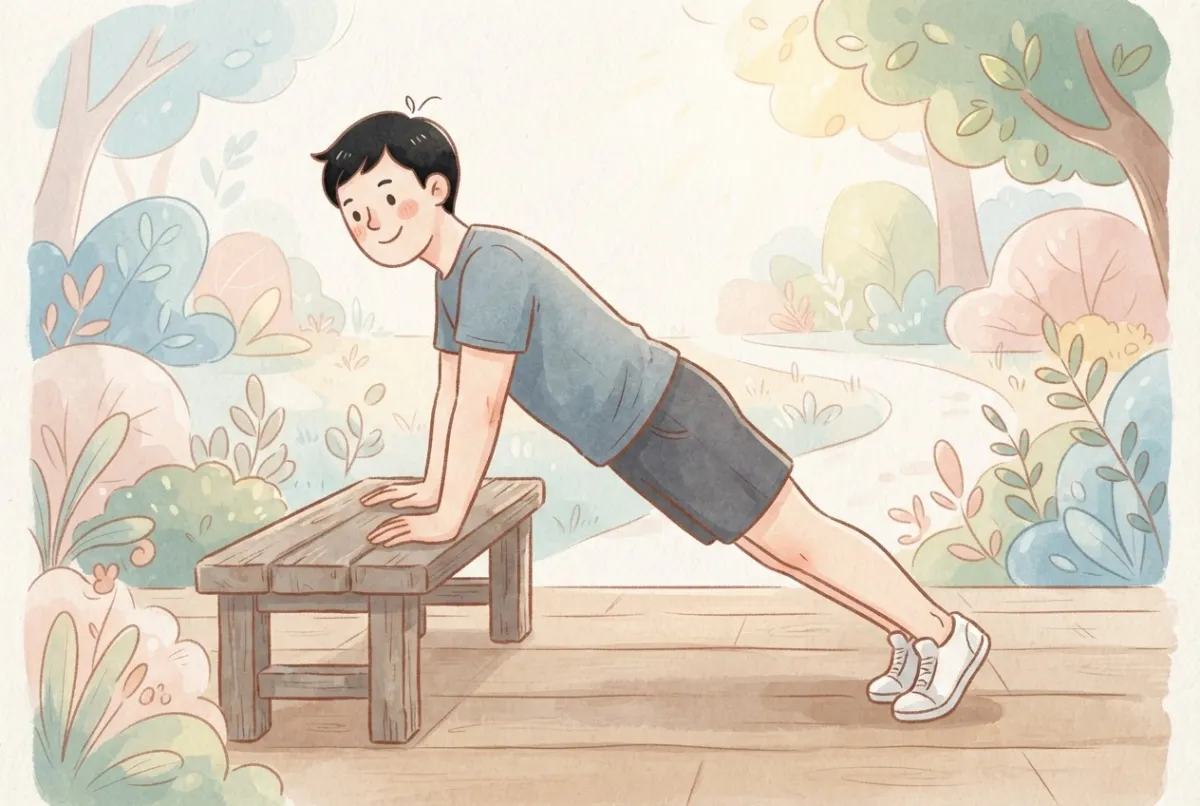
- Keep your hands under or just below your shoulders, a little wider than shoulder width.
- Spread your fingers and press the finger pads into the floor so your weight isn't all in the heel of the hand.
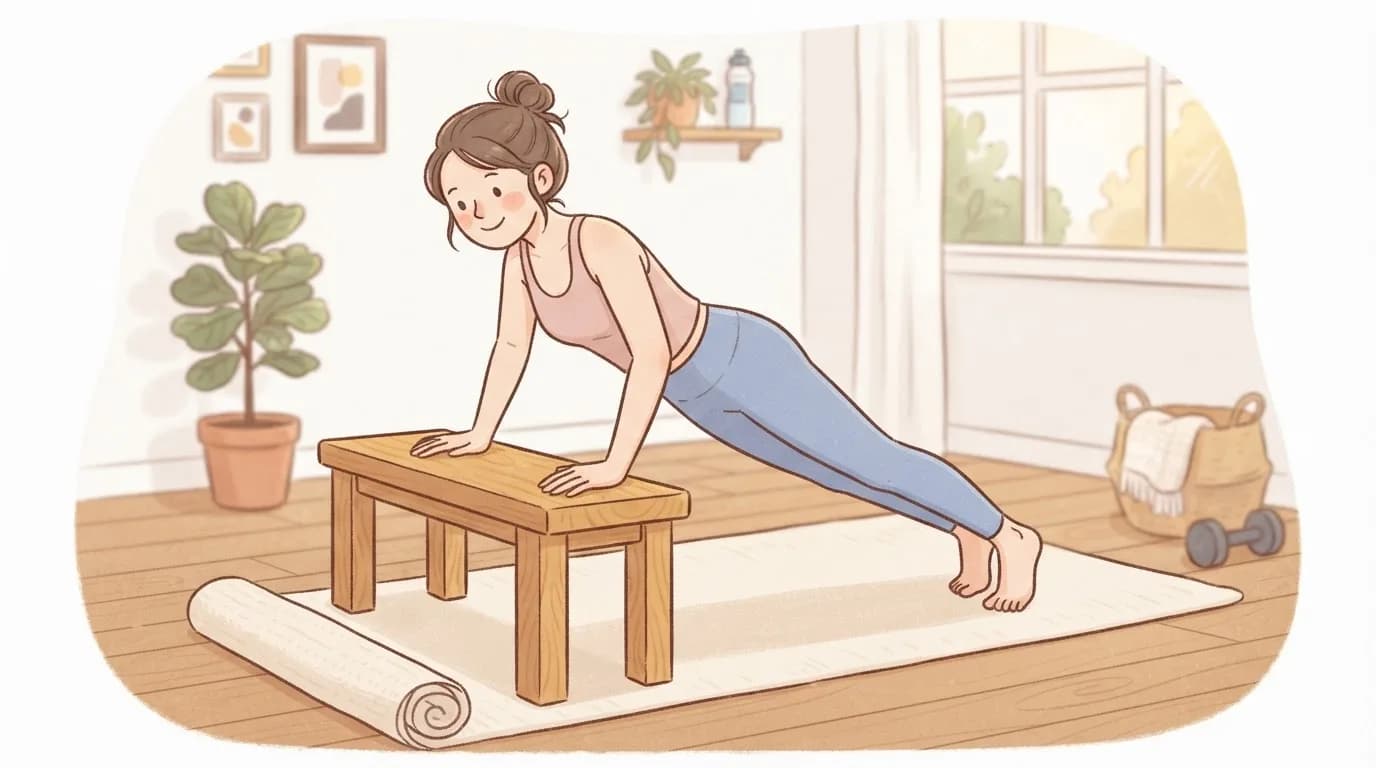
- Keep a straight line from head to heels and your elbows at about 30 to 45 degrees from your body.
- Build push-up volume gradually and switch to fists, handles or an incline on days your wrists are sore.
The push-up mistakes that hurt wrists most are placing your hands too far in front of your shoulders, sinking all your weight into the heel of the hand, turning your hands out at an awkward angle, letting your hips sag or pike, skipping a warm-up and doing too many reps too soon. Each one changes how much load lands on a wrist that's already bent back, and each has a simple fix you can check in one set.
This is a checklist you can run through with your phone propped up next to your mat. If you want the bigger picture on why push-ups strain wrists and which variations help, read wrist pain from push-ups as well.
How do you check your own push-up form?
Prop your phone on the floor about two metres to your side, at hand height, and film one set of five to eight reps. Then film one from the front. Watch it back slowly, and you'll spot most of the mistakes below without anyone else's help. It's worth doing every few weeks, because form tends to drift as the reps get easier.
Mistake 1: Going straight into push-ups without warming up
A cold wrist has less comfortable range, and a push-up asks for a lot of it. Physiopedia gives normal wrist extension as roughly 0 to 70 degrees, while a flat-palm push-up starts closer to 90, so the first set often goes right to the edge of what a stiff wrist can do.
The fix: spend two minutes on wrist circles, gentle rocks on all fours and a few incline push-ups before your first real set. My wrist warm-up routine works for push-ups too.
Mistake 2: Hands too far in front of your shoulders
When your hands sit up near your head, your body has to tip forward over them as you lower, and the wrist ends up bent further back with more weight pressing through it. It also tends to push the shoulders up towards the ears.
The fix: at the top of the push-up, your hands should be roughly under your shoulders, or very slightly below them towards your chest. From the side camera, a line straight down from your shoulder should land on or just in front of your hand.
Mistake 3: Hands too wide or twisted at an odd angle
A very wide hand position makes the forearm tilt, so the wrist bends sideways as well as backwards. Turning the fingers sharply in or out does something similar. Some outward turn is fine and many people find it comfortable, but extremes either way load the side of the wrist.
The fix: start with your hands a little wider than shoulder width, with your middle fingers pointing forward or turned slightly out. Then experiment with small changes and keep the position where your wrists feel best, because there's no single perfect angle for everyone.
Mistake 4: Sinking into the heel of your hand
This is the one I see most. When your fingers are relaxed or lifted, all your weight goes into the heel of the hand, right at the base of the wrist. It's a bit like standing on your heels instead of your whole foot.
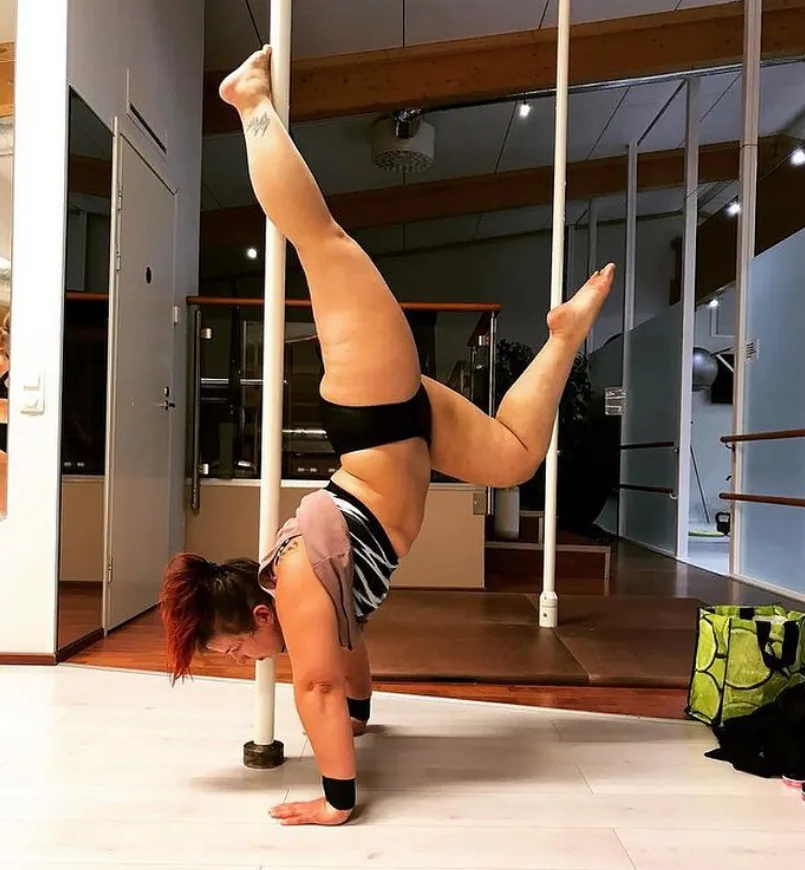
The fix: spread your fingers wide, press the pads of your fingers and the base of your index finger firmly into the floor, and imagine gently gripping the ground. You should feel your forearm muscles switch on and the pressure spread across your whole hand. This one change often takes the pinch out of the wrist straight away.
Mistake 5: Hips sagging or piking up
When your hips drop, your body shape changes and more of the effort shifts forward onto your hands. When you pike your hips high, your shoulders move in front of your hands and the wrist angle closes up. Both make the wrists work harder than they need to.
The fix: squeeze your glutes and brace your tummy as if someone's about to poke it, so your body moves in one straight line from head to heels. If you can't hold that line for your whole set, do some or all of your reps on an incline. Ebben and colleagues measured about 64% of body mass going through the hands in a standard push-up and much less with the hands raised, so an incline lets you keep good form while your strength catches up.
Mistake 6: Elbows flaring straight out
With the elbows sticking out sideways at 90 degrees, the forearm stops being vertical over the hand at the bottom of the rep, and the wrist gets twisted as well as bent. It's also hard work for the shoulders.
The fix: let your elbows angle back at roughly 30 to 45 degrees from your body, so from above your body and arms make an arrow shape rather than a T. At the bottom of the rep, your forearms should be close to vertical under your elbows.
Mistake 7: Too many reps, too soon, and pushing through pain
Daily push-up challenges and sudden jumps in volume are a classic way to make wrists sore, because joints and tendons adapt more slowly than muscles. Grinding out reps through a sharp or pinching pain just adds to the problem.
The fix: increase your total weekly reps gradually, and give your wrists rest days between hard push-up sessions. If flat palms hurt, swap to fists, push-up handles or an incline for a while instead of stopping completely. The wrist strengthening routine helps your wrists catch up with the rest of you.
Masha's tip: If you fix one thing only, make it mistake 4. Pressing your fingertips into the floor is the same cue I give for handstands and pole floor work, and it changes how the whole wrist feels.
Your push-up wrist checklist
| Mistake | Quick fix | How it should feel |
|---|---|---|
| No warm-up | Two minutes of circles, rocks and easy push-ups | Wrists loose and warm before the first set |
| Hands too far forward | Hands under or just below the shoulders | Weight over the hands, not in front of them |
| Hands too wide or twisted | A little wider than shoulders, fingers forward or slightly out | No sideways pull on the wrist |
| Weight in the heel of the hand | Spread fingers and press the finger pads down | Pressure across the whole hand, forearms working |
| Hips sagging or piking | Glutes and tummy braced, or use an incline | A straight line from head to heels |
| Elbows flared | Elbows back at about 30 to 45 degrees | Forearms vertical at the bottom |
| Too much, too soon | Build weekly reps gradually, use handles on sore days | Tired muscles, no sharp wrist pain |
Should you wear wrist wraps for push-ups?
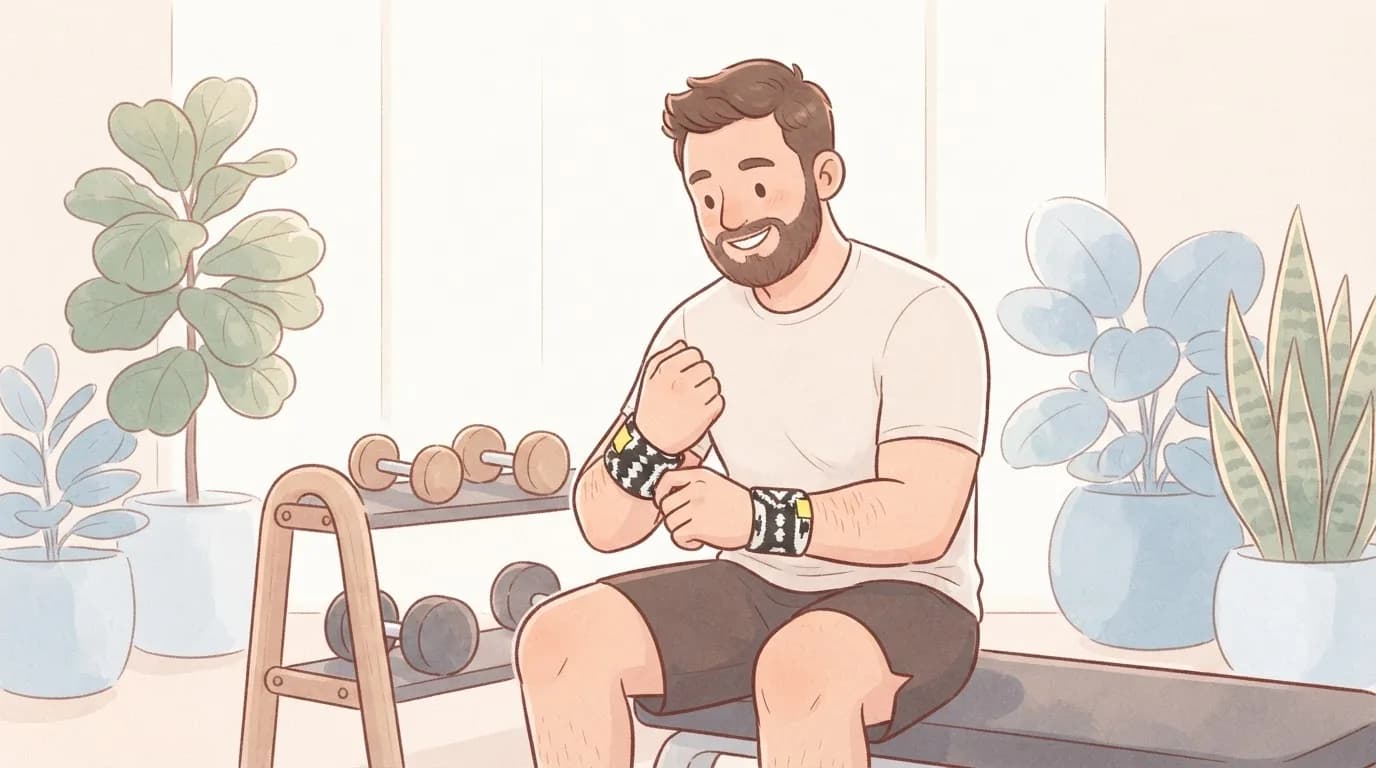
Wraps aren't a substitute for fixing the mistakes above, but they're a helpful extra. A firm elastic wrap gives compression and some resistance as the wrist bends back, and many people feel more stable in push-ups and planks with one on, especially during long classes or while building up volume. Ours sit low on the wrist so your hand can still spread flat and grip the floor, which matters for mistake 4. For more on choosing and wearing support in training, see the best gym wrist support and how to wear wrist support at the gym.
What if your wrists still hurt with good form?
If you've worked through the checklist and your wrists still hurt, something other than technique may be involved. See a GP or physiotherapist if the pain lasts more than two weeks, keeps coming back, wakes you at night, or comes with swelling, weakness, or tingling and numbness in your fingers, which follows the NHS advice on wrist pain. Get urgent help after a fall if your wrist is swollen, bruised or looks out of shape. The Cleveland Clinic overview of wrist pain explains the common causes in plain language, and my article on wrist pain when the wrist is bent may help too.
More in Strength training
- How to Strengthen Your Wrists: A Progressive 8-Week Plan
- Wrist Pain When Bench Pressing: Causes, Grip Fixes and What Helps
- Wrist Pain From Push-Ups: Why It Happens and How to Build Tolerance
- Wrist Support at the Gym: When to Wear It, How Tight and How Long
- Wrist Wraps for Lifting Weights: Presses, Front Rack and Overhead
- Best Wrist Support for the Gym: Wraps, Straps, Sleeves or Braces?
- Exercises to Prevent Wrist Injuries: A 7-Minute Warm-Up and Prehab Routine
Questions people ask
Where should your hands be in a push-up?
Roughly under your shoulders at the top of the movement, or very slightly lower towards your chest, and a little wider than shoulder width. If your hands are up near your head, your wrists have to bend further under more load.
Should your fingers point forward or out in push-ups?
Forward or turned slightly out works for most people. Try small changes and keep the angle where your wrists feel most comfortable, avoiding extreme turns in either direction.
Why does the heel of my hand hurt during push-ups?
Usually because your fingers are relaxed and all your weight sinks into the heel of the hand. Spreading your fingers and pressing the finger pads into the floor spreads the pressure across the whole hand.
Do push-up mistakes cause wrist injuries?
Poor form doesn't automatically injure you, but it puts more load on the wrist than necessary, and with lots of repetitions that can lead to soreness and overuse problems. Fixing your form and building volume gradually makes push-ups much kinder to your wrists.
Is it better to do push-ups on a mat or the floor for wrists?
A thin mat is more comfortable for the heel of the hand, especially on hard floors, and is a must for fist push-ups. A very soft, squishy mat can make the wrist wobble, so firm and thin is best.
Shop the fix
Wraps made for exactly this
Handmade in Slovenia by a pole teacher, with firm compression that sits low on the wrist.
Sources we checked
Written by
Masha Pinner
Pole dance teacher at Pandora Art of Pole in Slovenia and former fashion designer. Masha started SneakyDeez in 2017 after years of teaching on sore wrists, and she still designs every pair.
Read Masha’s story